JCMwave AI tools
AI tools for JCMsuite and JCMoptimizer
Ask questions in your browser, or bring JCMwave documentation and examples directly into your AI-assisted coding workflow.
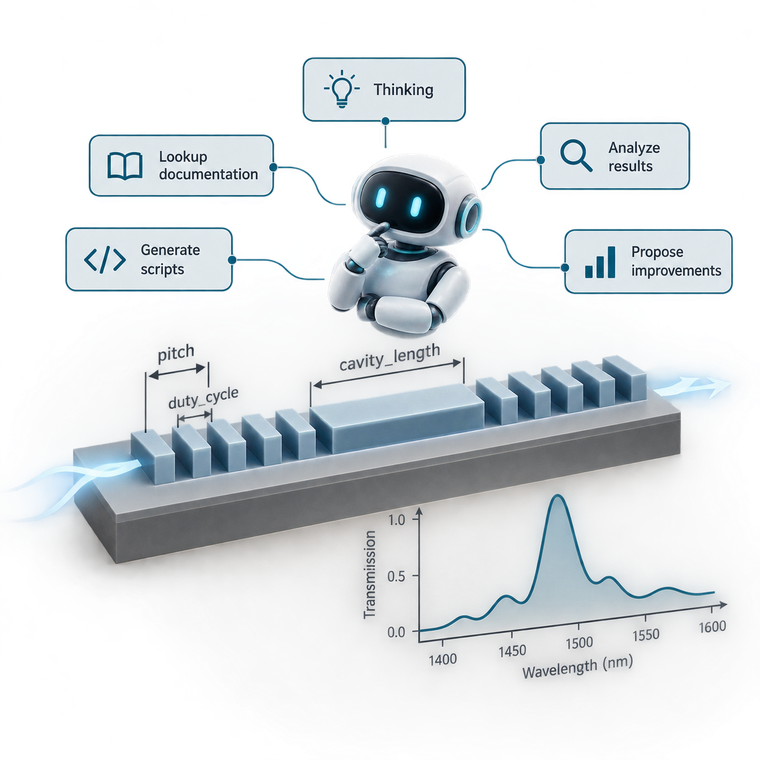
AI assistance for your simulation workflow
Two ways to get help, backed by JCMwave documentation.
Use the JCMwave chatbot to ask questions about JCMsuite and JCMoptimizer in your browser. It retrieves versioned documentation and includes source links so you can follow up on the relevant reference material. No coding-environment setup is needed.
If you already work with an AI coding assistant, connect it to the JCMwave MCP server. MCP (Model Context Protocol) lets your assistant search and read documentation, inspect companion example files, and discover compatible skills while working in your project.
The hosted documentation service is read-only and public: no JCMwave API key is needed for this connection. Your coding assistant still uses its own model-provider account and settings. The MCP service supplies context; your coding environment handles changes to your project and execution of local commands.
Connect your coding assistant
Choose your environment. The hosted MCP endpoint is https://mcp.ai.jcmwave.com/mcp.
OpenCode setup
Add the following server entry to opencode.json in your project root. Merge it into the existing mcp object if you already have other servers configured.
{
  "$schema": "https://opencode.ai/config.json",
  "mcp": {
    "jcmwave": {
      "type": "remote",
      "url": "https://mcp.ai.jcmwave.com/mcp",
      "enabled": true
    }
  }
}
Restart OpenCode after changing the configuration. Run opencode mcp list to check that jcmwave is connected.
In a new conversation, ask: Use the JCMwave MCP tools to find a waveguide simulation tutorial and explain its input files.
For configuration locations and additional options, see the OpenCode MCP documentation.
Codex setup
Add this table to ~/.codex/config.toml for your user account, or to .codex/config.toml in a trusted project. Merge it into your existing configuration without duplicating the table.
[mcp_servers.jcmwave]
url = "https://mcp.ai.jcmwave.com/mcp"
Restart your Codex client. Run codex mcp list to check the configured server, and use /mcp inside the Codex terminal interface to inspect the active connection. The Codex CLI and IDE extension share the configuration for the same Codex host.
In a new conversation, ask: Use the JCMwave MCP tools to find a waveguide simulation tutorial and explain its input files.
For client-specific configuration and additional options, see the Codex MCP documentation.
Claude Code setup
Run this command from your project directory to add the hosted HTTP server for that project and your user:
claude mcp add --transport http jcmwave https://mcp.ai.jcmwave.com/mcp
To make the connection available across all your projects, use user scope instead:
claude mcp add --transport http --scope user jcmwave https://mcp.ai.jcmwave.com/mcp
Run claude mcp list to check connectivity. Start a Claude Code session and use /mcp to inspect the server and its tools.
In a new conversation, ask: Use the JCMwave MCP tools to find a waveguide simulation tutorial and explain its input files.
For team-shared project configuration and additional options, see the Claude Code MCP documentation.
Cursor setup
Add this configuration to .cursor/mcp.json in your project, or to ~/.cursor/mcp.json for tools available across your projects. Merge the jcmwave entry into an existing mcpServers object if you already have other servers configured.
{
  "mcpServers": {
    "jcmwave": {
      "url": "https://mcp.ai.jcmwave.com/mcp"
    }
  }
}
Open Customize in Cursor's sidebar and check that the jcmwave MCP server is enabled and its tools are available. Restart Cursor if the configuration is not picked up. No JCMwave API key is needed for this public documentation connection.
In an Agent conversation, ask: Use the JCMwave MCP tools to find a waveguide simulation tutorial and explain its input files.
For configuration locations and troubleshooting, see the Cursor MCP documentation.
Try it in your workflow
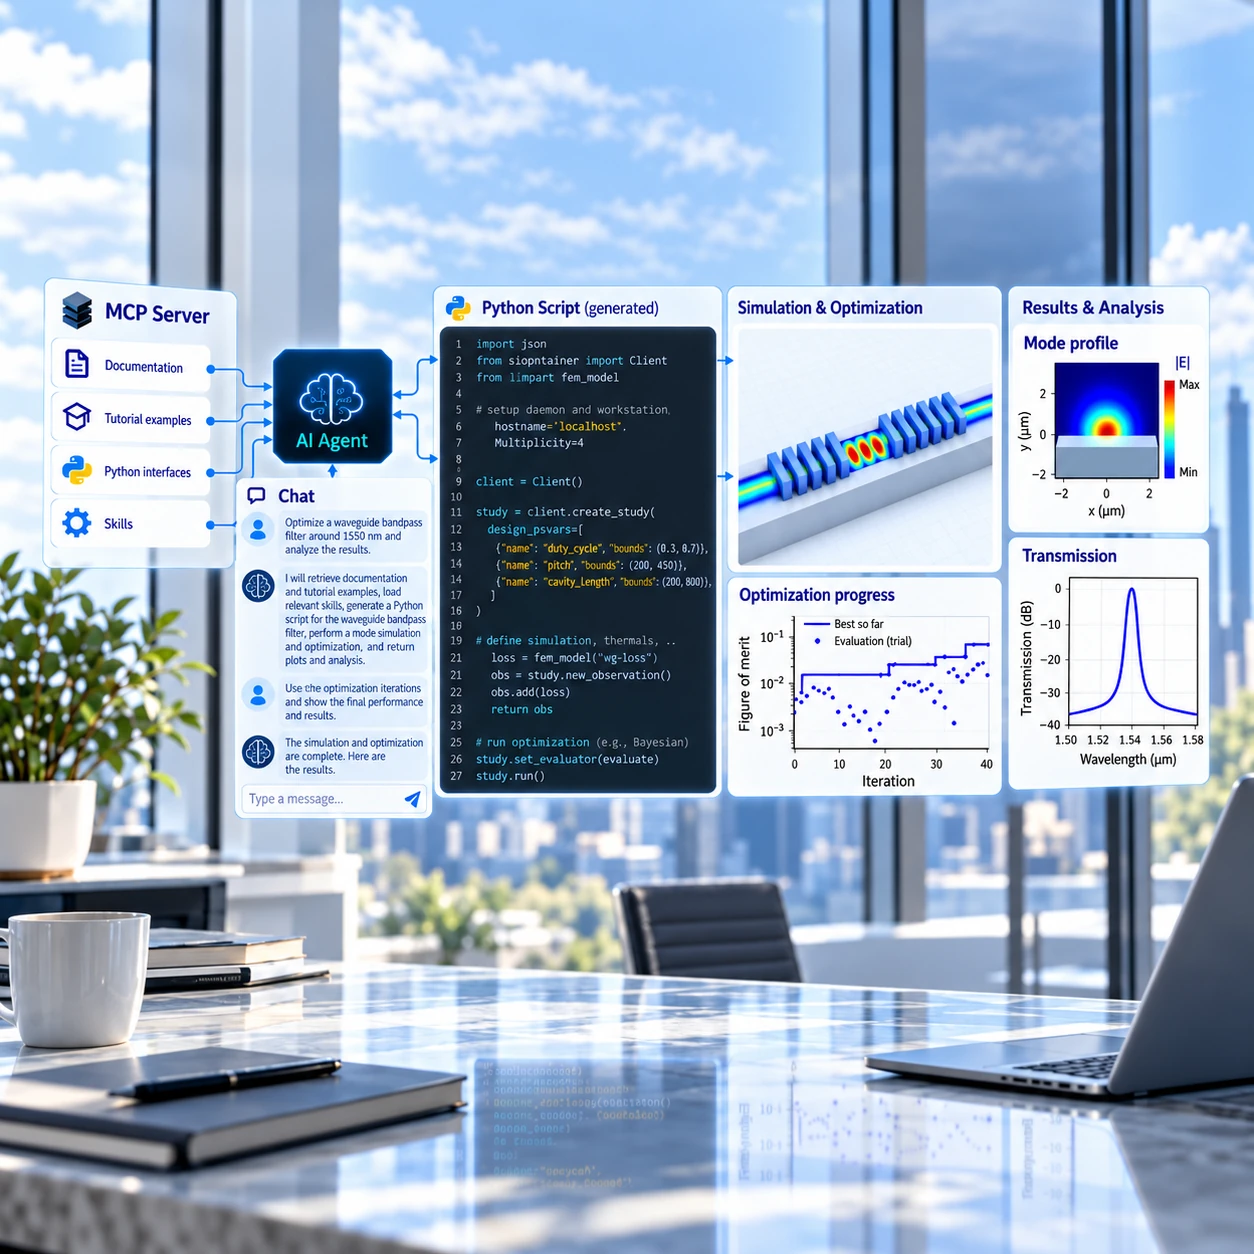
With your coding assistant connected to JCMwave MCP, try these prompts in your own project:
- Explore an example: “Use the JCMwave MCP documentation to find a waveguide-based filter example. Explain its geometry, input files, and how it computes transmission. Suggest what would need to change to target 1550 nm.”
- Prepare a sweep: “Inspect this project's files and prepare a script that sweeps one geometric parameter and wavelength, saves the transmission spectra, and plots them.”
- Prepare optimization: “Using this working simulation project, propose geometric parameters and an objective for a filter around 1550 nm. Prepare an optimization script with a budget of 40 design evaluations.”
- Analyze output: “Using these spectra, compare the initial and optimized designs: peak wavelength, bandwidth, and transmission.”
- Plan validation: “Using this project and its results, propose a fabrication-tolerance sweep.”
For a quick explanation without setting up a coding environment, ask the JCMwave chatbot about the simulation concepts or documentation. For help with your project from our team, contact JCMwave.